Black and White Painted Terracotta Pots Oca
How-To
Painting Clay Pots
Add a touch of style to a classic container

I love terra-cotta, but I think too much of it can be monotonous. To vary the look of terra-cotta pots, I sometimes age them by spraying them with a buttermilk and moss solution to stimulate moss growth (a time-consuming affair), or if I want instant gratification I paint them. I started painting clay pots years ago while working in a craft store and nursery. It is an easy and inexpensive way to dress up the garden as well as a thoughtful way to personalize a plant gift.
The best part of painting pots for me is coming up with the designs. I've drawn inspiration for my pots from people, objects, and places around me, and I've established a few design guidelines for myself over the years. For example, I usually avoid the color green unless I have a particular look in mind when the pot is combined with a plant. I've found that a green pot usually either clashes with or distracts from the foliage of a plant. Also, very small, intricate designs will be lost on a pot used for a floor plant or large container planting. I reserve those designs for a pot that will be seen at eye level.
One of my favorite designs is based on the night sky. It's mysterious, intriguing, and a good foil for almost any plant. Another design I like is inspired by old gold-leaf picture frames. I love the look of the overlapping layers of gold with the red base color showing through. For variety, I sometimes use a top coat of black paint instead of gold and scratch off a bit of the top layer to expose the red beneath. When I want a very simple treatment, a thin wash of color that lets the terra-cotta show through is all it takes to make a pot shine.
When it comes to painting pots, the design possibilities are endless. The pots hold up well for years with only minimal fading, even outdoors. They won't survive freezing, though, so bring them in when it gets cold.
Supplies you'll need
- Clean terra-cotta pots
- Acrylic craft paints in assorted colors
- Small or medium foam brushes
- Plastic plates
- Cotton swabs
- Small artist's paint brush
- Wire brush
- Clear spray acrylic
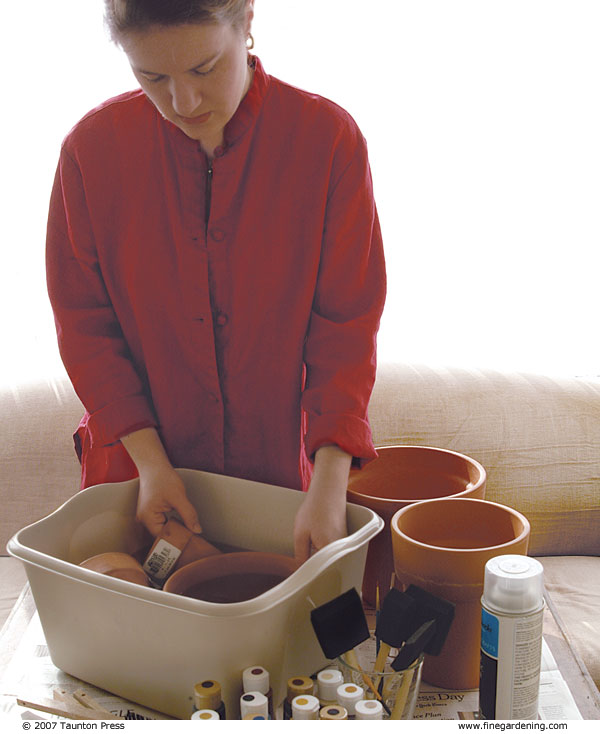
Start by prepping the pot
Remove price tags and stickers from the pot by soaking it in a tub of warm water for up to an hour, then scrubbing it with a stiff brush. Allow the pot to dry completely before painting.
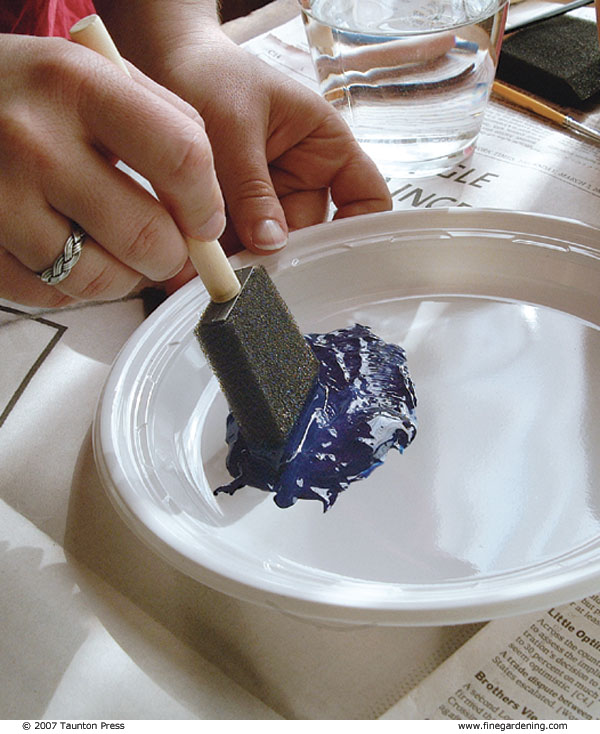
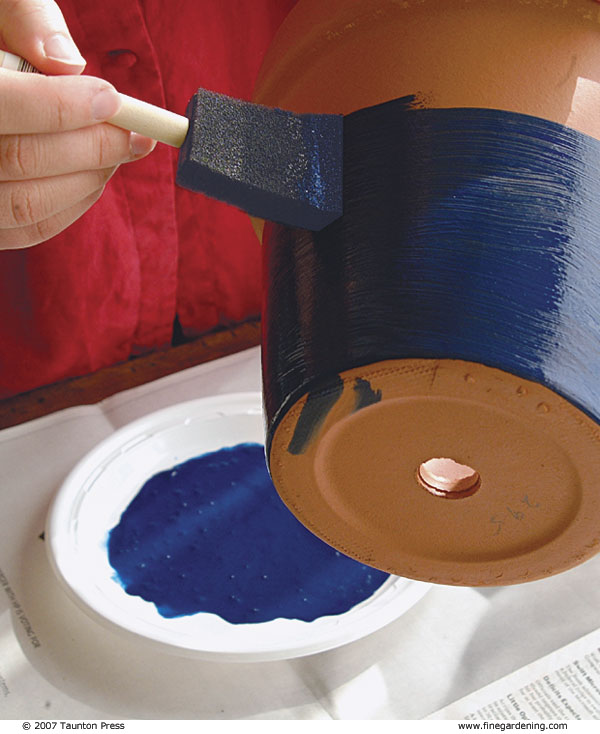
Next, apply the base coat
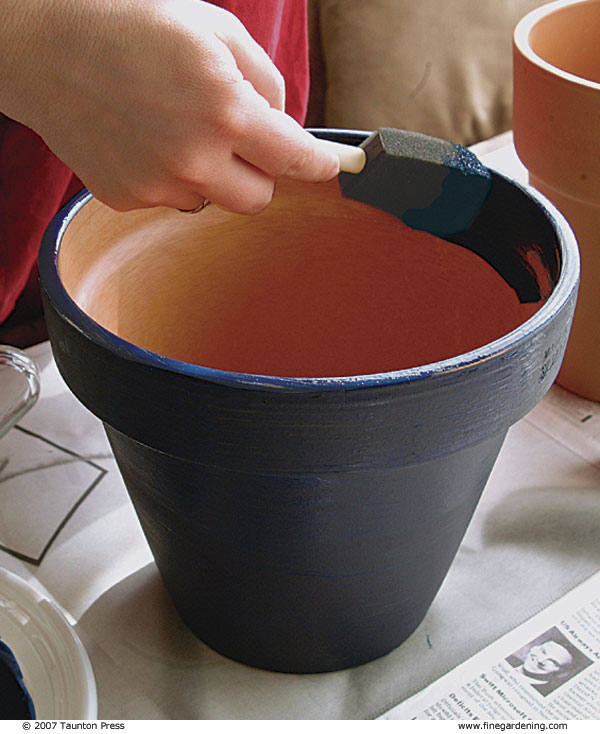
Put the paint for the base coat on a plastic plate and adjust the color with other shades if desired. Thin the paint with a small amount of water to make it easier to coat the pot evenly. Apply the paint with a foam brush, working around the pot in broad sweeps. Extend the paint an inch or so down into the top of the pot, but do not cover the bottom, which should be left clear for optimal drainage. The pot will absorb a lot of paint. Apply additional coats if you'd like, allowing the pot to dry between coats, until the desired color depth is achieved.
Celestial Pot
After the blue base coat has dried completely, choose a color for the stars. (I like to use gold, silver, or pearlescent white.) With a cotton swab, apply a liberal dot of the paint onto the side of the pot.
Using a small artist's paint brush, draw the paint out from the middle to create the star-burst effect. Start with the longest rays and finish with the shortest to ensure that you will have enough paint for each. I like to end each ray with a tiny dot of paint to make the stars seem to sparkle.
Make more stars at random spots on the pot until you have as many as you want.
Antique gold pot
After the red base coat is dry, use a wide foam brush to apply staggered patches of a muted antique gold shade. Do not dilute the gold paint in this step. The undiluted paint will go on unevenly, leaving streaks that will allow the base color to show through, emulating gold leaf.
After the first set of patches is dry, overlap them with additional patches to cover the entire pot.
Rich black pot
After the red base coat has dried completely, apply a thick coat of undiluted black paint, completely covering the base color on the outside surface of the pot.
Before the black coat dries completely, use a stiff wire brush in broad, light sweeps around the pot, scratching off just enough of the top coat to reveal the red color below.
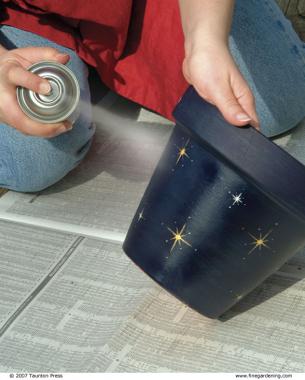
After the finished pot has dried completely (this may take several days, as the drops of paint on the celestial pot are much thicker than a coat of paint), apply two coats of a clear waterbased spray acrylic to seal the paint and protect the design from scratches.
This layer also makes cleaning soil from the outside of the pot a little easier. I recommend a matte finish, which is less distracting than a shiny finish and tends to intensify the colors of the pot.
See Michelle in action in this video!
Get our latest tips, how-to articles, and instructional videos sent to your inbox.
Related Articles
The Latest
Collection
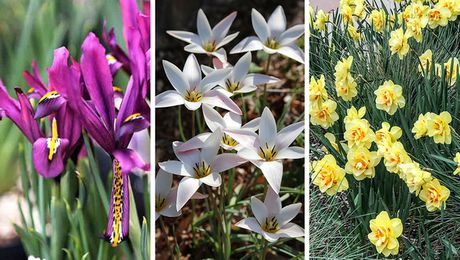
Fall Bulb Planting for Your Region
Bulb-ordering season is here for much of the country, and many gardeners are rushing to nurseries and getting their online orders ready. It's important to plan ahead and make your…

Podcast: Let's Argue About Plants
Episode 99: Only Three Trees
The thought of restricting most gardeners to only three of any plant might sound cruel. After all, what makes us happier than heading to the nursery to fill a shopping…

Holiday Subscription Savings - Limited Time!
$10 for a year
of Fine Gardening Magazine
Subscribe Today
-

How-To
Giving Back Through Gardening: Part 2
Back in May, Fine Gardening committed to planning and planting a garden for Karen, an emergency department nurse. It was a small way to say thank you for the efforts…

Black and White Painted Terracotta Pots Oca
Source: https://www.finegardening.com/article/painting-clay-pots
0 Response to "Black and White Painted Terracotta Pots Oca"
Post a Comment